In this article, we’ll se how to run a spring boot application with mongo db and a mongo client with a single command. For this purpose, we must dockerize our application, the mongo database and the mongo client.
Spring Boot Application
To create our Spring Boot application we use the project creation wizard provided by the Spring web.
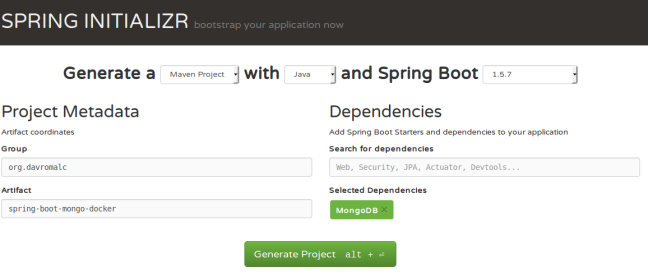
Once the project is downloaded, we need to add the necessary configuration to dockerize the application and for the application to connect to Mongo.
How to dockerize the application
We only need to add a plugin to the pom.xml file and our application will aready been dockerized.
<plugin>
<groupId>com.spotify</groupId>
<artifactId>dockerfile-maven-plugin</artifactId>
<version>1.3.4</version>
<configuration>
<repository>${docker.image.prefix}/${project.artifactId} </repository>
</configuration>
<executions>
<execution>
<id>default</id>
<phase>install</phase>
<goals>
<goal>build</goal>
</goals>
</execution>
</executions>
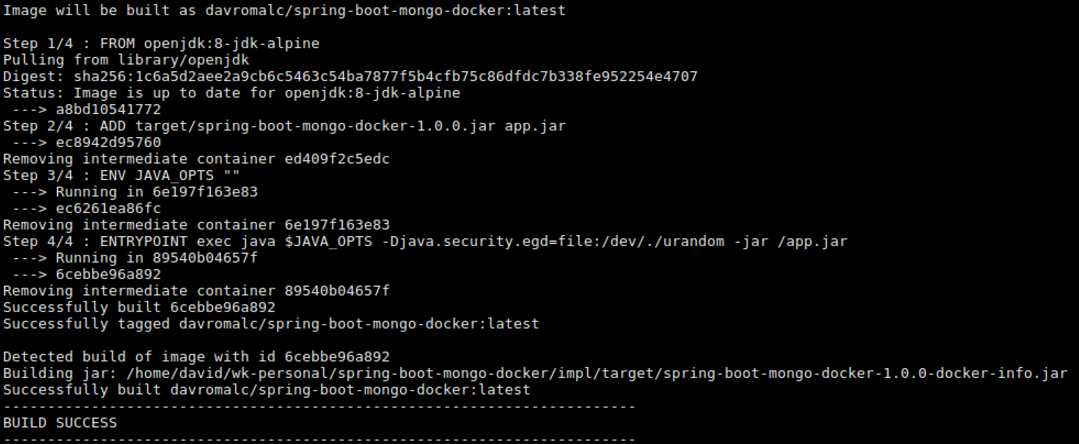
</plugin>If we run mvn clean install we will see how our image has been created successfully.
mvn clean install
How to connect our app to mongo db
First of all, we need to add application.yml file. This file contains all configuration needed for our application
spring.data.mongodb:
   database: customers # Database name.
   uri: mongodb://mongo:27017 # Mongo database URI. Cannot be set with host, port and credentials.
One of the first questions that would fit me would be: Why does mongo appear as a host instead of localhost?
For one reason:
If we put localhost and run our application with docker, the mongo database won’t be founded. Mongo will be located in a container and our app will be located in a different container.
However, If we run our application with java, we only have to add following line to our /etc/hosts file.
mongo 127.0.0.1
Once the connection to mongo is configured, we need to add a repository to allow query database.
import org.davromalc.tutorial.model.Customer;
import org.springframework.data.mongodb.repository.MongoRepository;

public interface CustomerRepository extends MongoRepository<Customer, String> {

}
Also, we need to enable mongo repositories in our main spring boot class.
import org.springframework.boot.SpringApplication;
import org.springframework.boot.autoconfigure.SpringBootApplication;
import org.springframework.data.mongodb.repository.config.EnableMongoRepositories;

@EnableMongoRepositories
@SpringBootApplication
public class Application {
   public static void main(String[] args) {
      SpringApplication.run(Application.class, args);
   }
}
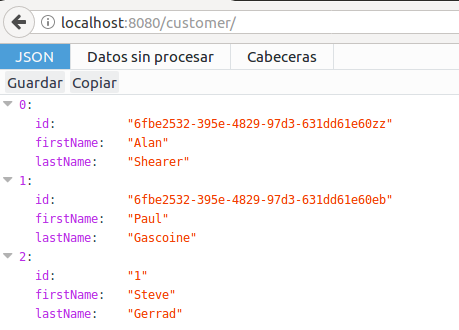
Additionally, we can add a controller that returns all the data, in json format, from mongo or to be able to persist new data.
import java.util.List;

import org.davromalc.tutorial.model.Customer;
import org.davromalc.tutorial.repository.CustomerRepository;
import org.springframework.beans.factory.annotation.Autowired;
import org.springframework.web.bind.annotation.RequestBody;
import org.springframework.web.bind.annotation.RequestMapping;
import org.springframework.web.bind.annotation.RequestMethod;
import org.springframework.web.bind.annotation.RestController;

import lombok.extern.slf4j.Slf4j;

@RestController
@Slf4j
public class CustomerRestController {

   @Autowired
   private CustomerRepository repository;

   @RequestMapping("customer/")
   public List findAll(){
      final List customers = repository.findAll();
      log.info("Fetching customers from database {}" , customers);
      return customers;
   }

   @RequestMapping(value = "customer/" , method = RequestMethod.POST)
   public void save(@RequestBody Customer customer){
      log.info("Storing customer in database {}", customer);
      repository.save(customer);
   }
}
Our application is fine. We only have to create a docker image to be able to run a container with our application.
mvn clean install
Once the docker image is created, we can list all docker images and check if the docker image was created successfully.

Besides, we can run a container from the image created

At this point, we have our application dockerized but it cannot connect to mongo and we can’t see mongo data.
Mongo import
So that we can have data every time we start our mongo db, I have developed a script that persists in mongo the json files that we enter inside the folder mongo-init.
The script does the following:
- For each folder inside the data-import folder, it reads all json files and creates a database with the name of the folder.
- For each json file, it creates a collection with the name of the file and persists all json objects contained in the file. When we run this script, we can check if data is persited searching in logs.


Dockerized mongo
So that we do not have to have installed mongo in our laptop, we can dockerize mongo and only use it when it is necessary and to be able to export all our technology stack easily.
We only have to search docker image and pull from the repository.
docker pull mongo:latest

Mongo client
Mongo Client is a web interface that allows us to visualize in a simple way the contents of our collections.
We only have to search docker image and pull from the repository.
We do not need to pull the image, when we run the docker compose this will download all the images that are not founded in our local repository.
Run all with a single command.
If we wanted to run our application, with mongodb, with the imported data and with mongo client we would need to execute the 4 containers in the following order:
- Mongo
- Mongo Import
- Mongo Client
- App
Running 4 commands every time we make a change is not very useful and often causes bugs.
To solve this problem, we have the docker compose tool that allows us to execute several containers of the same stack and create links between the different containers so that they have visibility between them.
version: "2.1"
   services:
      mongo:
         image: mongo:3.2.4
         ports:
            - 27017:27017
         command: --smallfiles

      mongo-init:
         build: ./mongo-init
         links:
            - mongo

      mongo-client:
         image: mongoclient/mongoclient
         ports:
            - 3000:3000
         environment:
            - MONGOCLIENT_DEFAULT_CONNECTION_URL=mongodb://mongo:27017
         links:
            - mongo

	# APP ************************************************************
      spring-boot-mongo-docker:
         image: davromalc/spring-boot-mongo-docker
         ports:
            - 8080:8080
         links:
            - mongo
         entrypoint: "java -Djava.security.egd=file:/dev/./urandom -jar /app.jar"
We are going to inspect the contents of this file:
- Services means each container we will run
- Mongo: We are going to use mongo image and expose its tipically port: 27017
- Mongo Init: Build from Dockerfile . Copy the script into the container and run it. It have a link with mongo container. This link is very importante so if this link does not exist, the data would not persist in the desired mongo.
- Mongo Client: From latest docker i :Dmage. The url of the mongo to which it accedes must be configured through environment. As in the application.yml file we must indicate the url with “mongo” and not with “localhost”. And why mongo? Because mongo is the name of the mongo service declared in line 3. If in line 3 we would have declared the service as my-mongo-database, in this environment variable we should put: mongodb://my-mongo-database:27017 and the same in the application.yml file.
- App: From the image created above. We expose 8080 port. We set a link with mongo. If we doesn’t set this link, our app would nott run. At this point, we can run the 4 containers with a single command, as we promised at the beginning of this article. 😀
We should to run the following command:
docker-compose -up
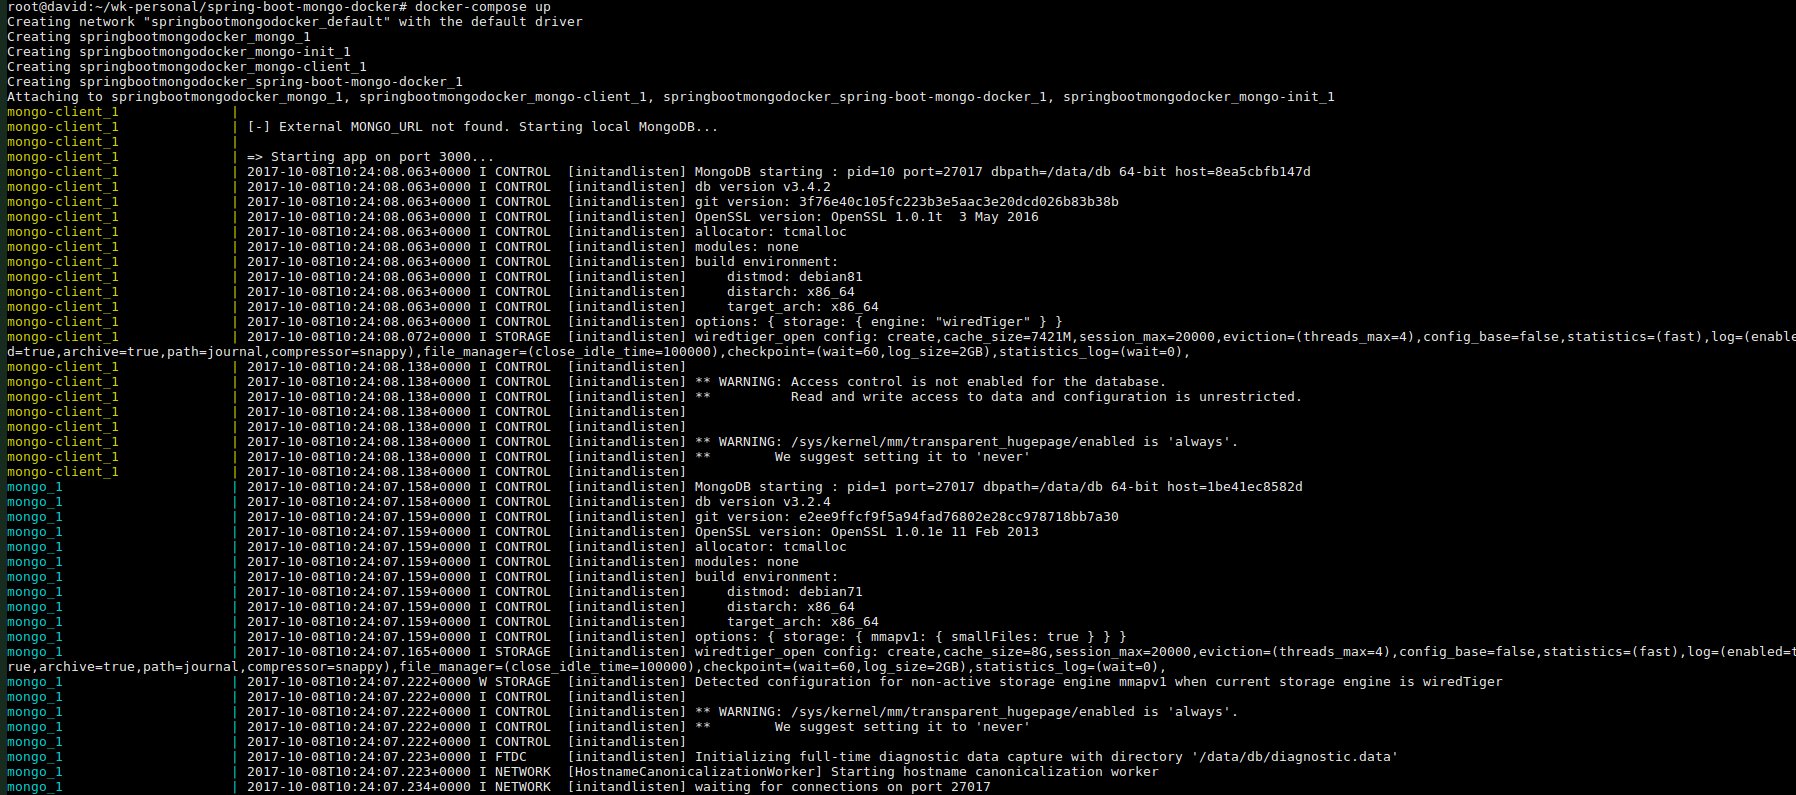
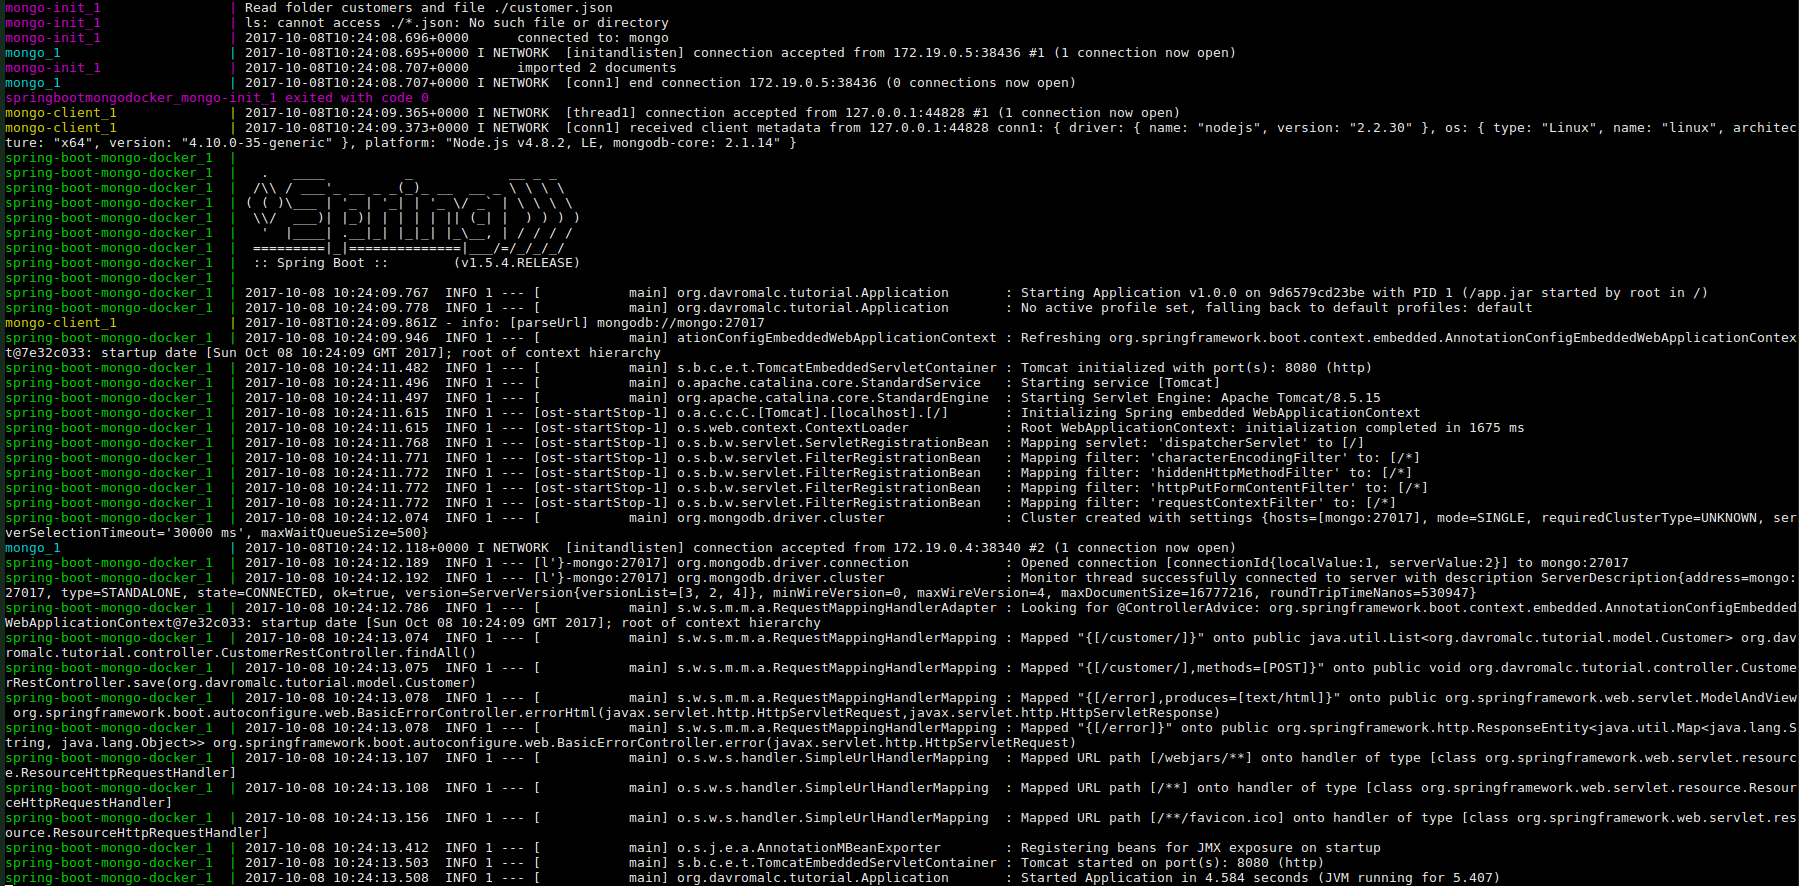
Each container has been executed successfully and we can’t see errors in logs.
Note: If we modify the dataset of mongo init, we hace yo re-build the docker-image. For that purpouse, we hace to run the following command:
docker-compose up --build
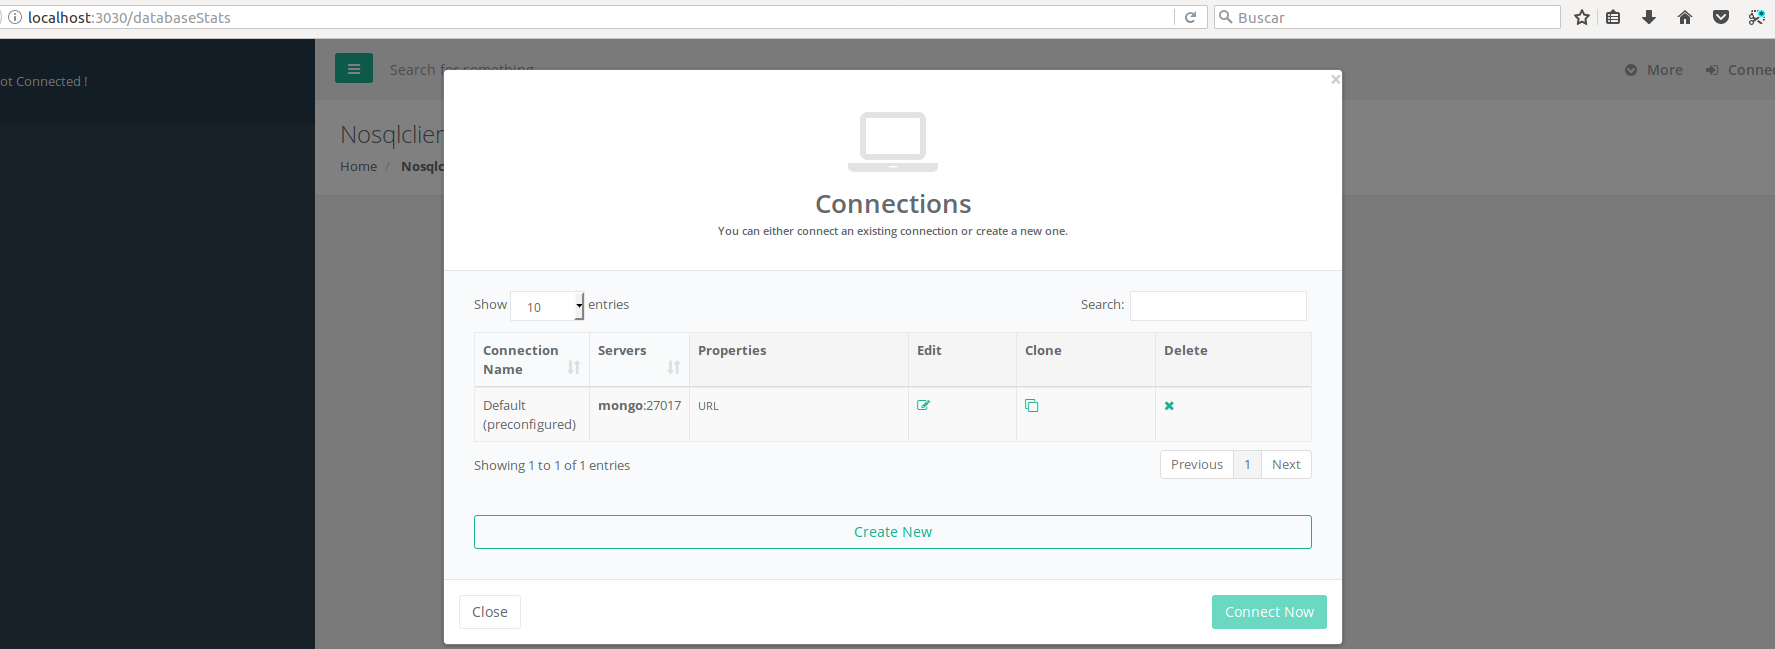
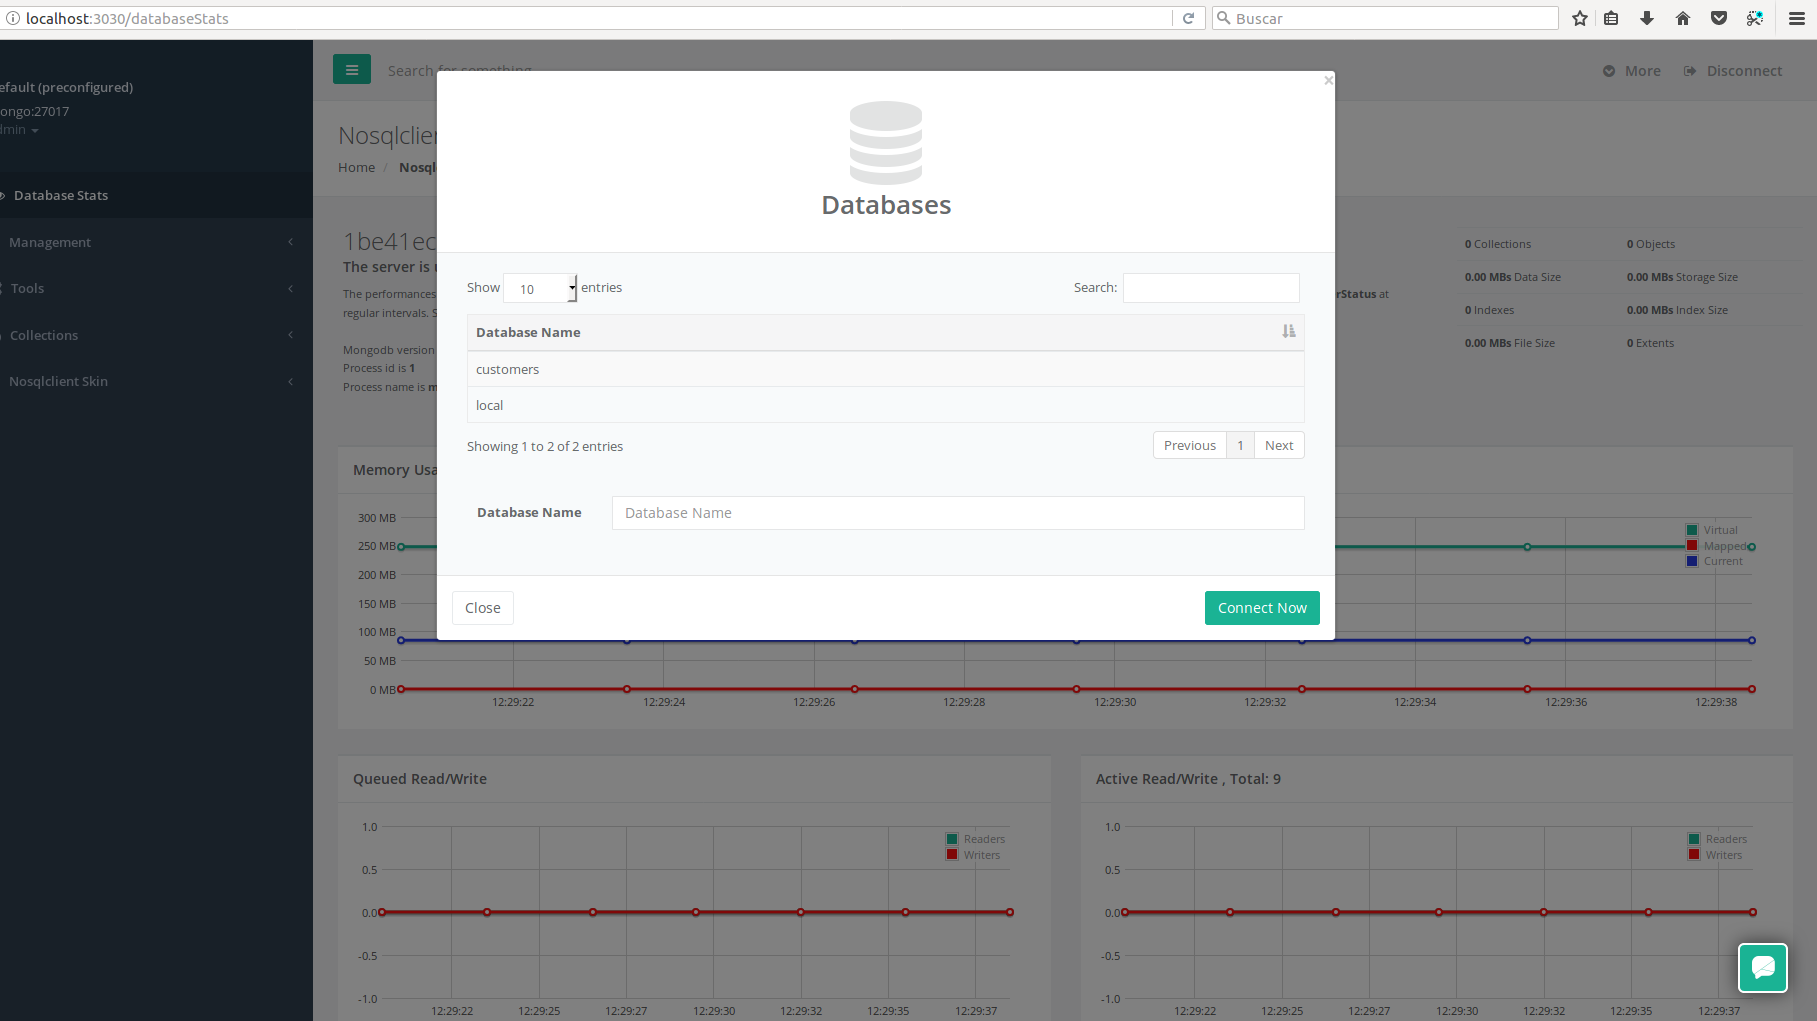
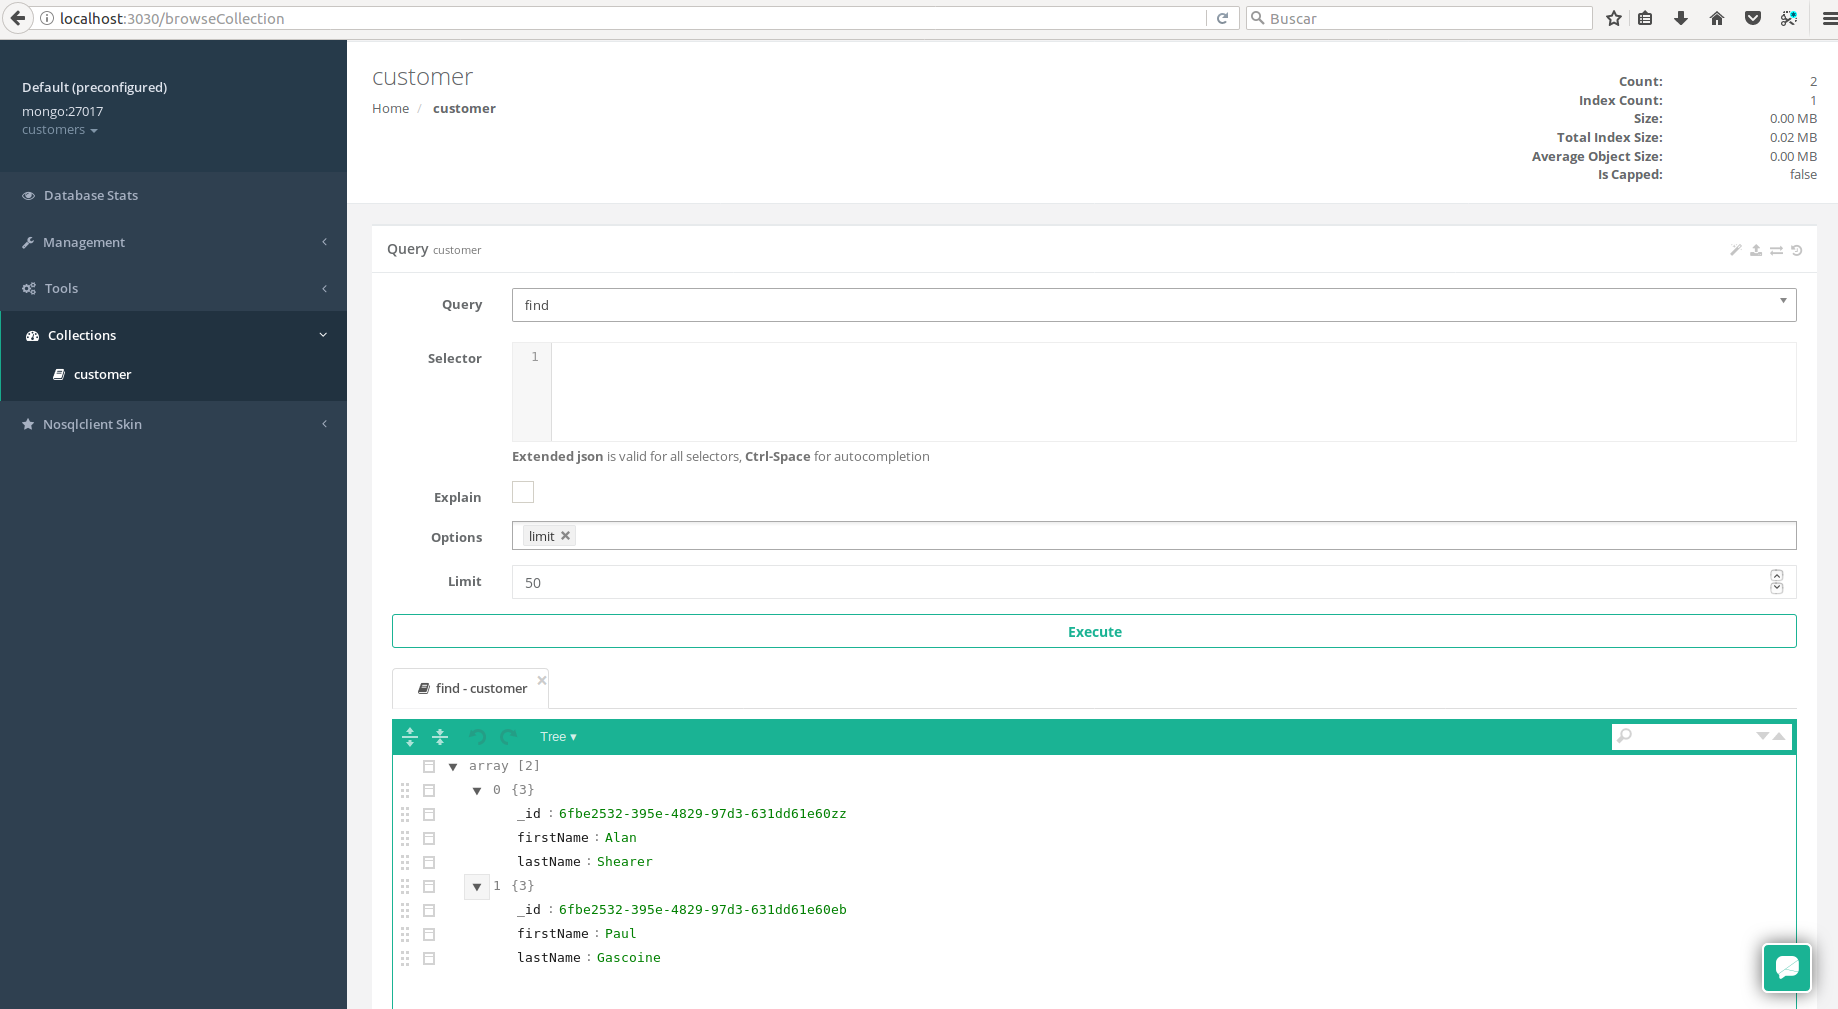
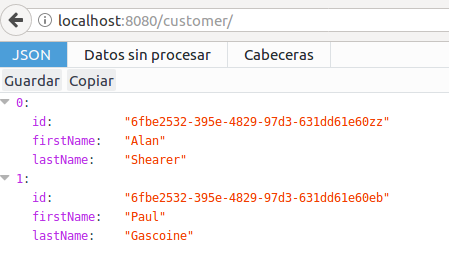
Now, We can check if all configuration is fine and if we can access mongo data from mongo client and from our application.
Mongo Client:
Our Application:
Logs Ouput:

Create customer with postman tool

Now, we can check if customer has been persisted successfully.
Conclusion
Thanks to the docker-compose tool we can build a poweful technological stack that helps us develop and build spring boot applications in a simple and intuitive way.
Mongo client and mongo import data are two useful tools for development that allow us to speed up the development of our application and have an clean dataset every time we run the application. This is very helpful to run the integration tests for example.
The full source code for this article is available over on GitHub.
